


How to Install Under Cabinet LED Strip Lighting
Once you have decided which LED Tape Light you are going to use, it is time to start planning your installation. You’ll have to take accurate measurements of your lighted space to cut your tape light, decide if you want to use LED Mounting Channels to diffuse and protect your light, clean your lighted area for tape light adhesion, and test your LED tape light before final installation.
Understanding LED Strip Light Configurations
Read our article about the four most popular LED tape light configurations: straight run, array, center-feed, and loop-back. Understanding the pros and cons of each configuration, as well as their most used applications is the first step in a successful lighting set-up.

Measure & Cut LED Strip Light
Taking accurate measurements of your lighted surface will be important in making sure you have the correct components, but also in making sure you cut your LED tape correctly. Measure twice to make sure that your lengths are accurate and test the LED tape before making any cuts.

LED Strip Light Diffuser

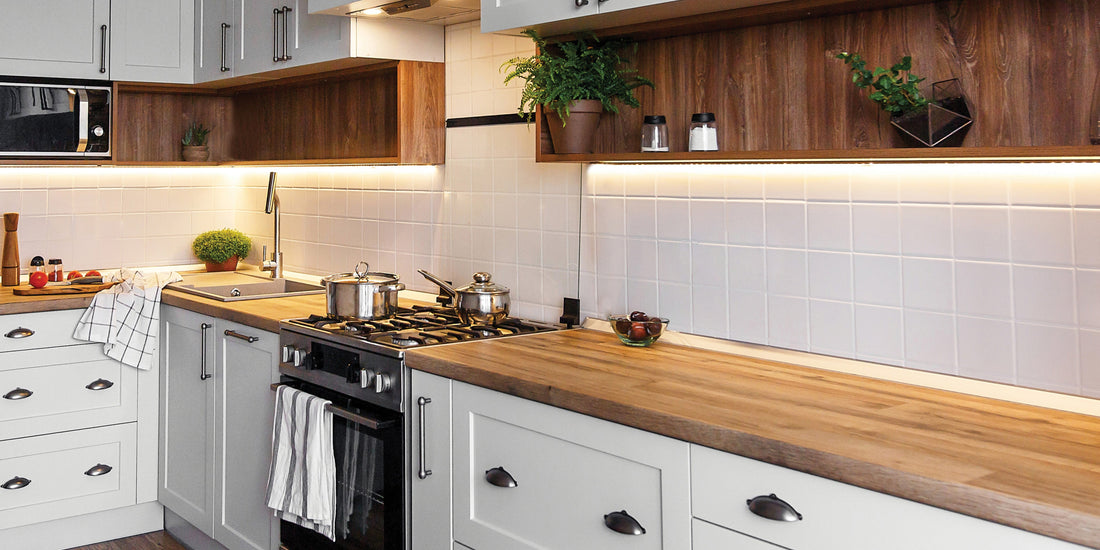
If you need extra diffusion for your tape light, or a more professional look for your installation, then you should use LED mounting channels. Armacost Lighting has a variety of LED mounting channels available. Surface mount channels are useful for 90° downlight installations, and corner channels are perfect for 45° angled lighting and uplighting. You can secure them to your surface with included mounting hardware, or 3M double sided tape.

How to Mount LED Strips
Before installing tape light or mounting channels you should clean all surfaces that you plan to mount your components to. Surfaces should be clean, dry, dust free, and above 60°F. For best adhesion, lightly sand surfaces where you will mount the LED tape (150-300 grit) in a circular motion. A dust-free clean surface will ensure that the 3M backing on your LED tape will adhere to these surfaces for the light’s entire lifespan.
LED Mounting Channels include mounting clips for the channels which are useful for their installation. However, LED tape should not require mounting clips if the surfaces it is applied to are properly cleaned, dried, and prepared.

Test LED Strips Before Installing
Prior to removing any of the 3M backing on your Armacost Lighting LED Tape Light you should test your lighting. Cut your lighting, make all connections, and tape the lighting to your surface with painter’s tape. Once your LED tape light is temporarily installed with painter’s tape plug in the lights and test them.

Troubleshooting Installation Issues
Why Do My Lights Flicker?
If your lights are blinking or flashing, then it is very likely that your power supply is overloaded. This means the wattage draw of the LED tape is greater than the max load for your power supply. Consult the wattage draw specs for your lighting.

LED Strip Light Polarity
If a section of your tape light won’t turn on then check that polarity is maintained throughout your install. If a section of lights is flickering, then check that all connections are secure. Read our article about LED Tape Light Polarity to better understand how to maintain LED polarity throughout your installation. You can always reach out to our U.S. based Customer Support team if you have any questions or issues.

