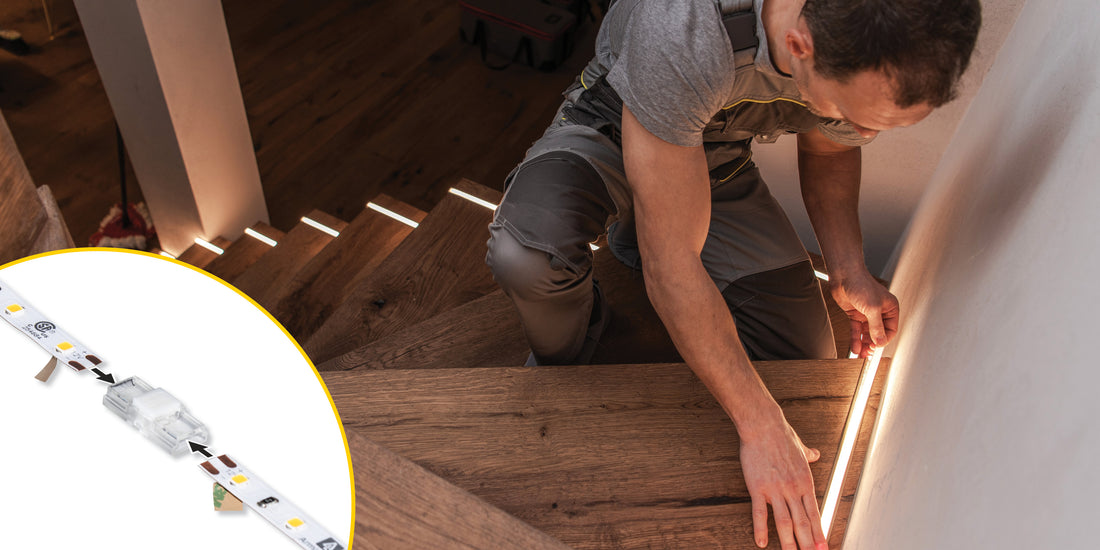
One of the many advantages of using LED tape light is that it is easy to install. Many installations are simple and only require one strip of LED tape, without the need to cut and reconnect. However, more complex installations may require the ability to jump over obstacles, make turns, or connect the strip light to a remotely located power supply. This is where LED connectors come into play, providing a safe, solderless method to connect your cut strips of LED lights.
How Do You Install an LED Connector?
The first step is to determine which style and connection type is right for your installation. Armacost Lighting LED connectors come in multiple styles (2 pin, 4 pin, 5 pin, and 6 pin) for various types of connections (tape-to-wire, tape-to-tape, and wire-to-wire). Understanding the type of wire needed for your LED strip will help to determine the style of the connector needed. Let’s break down the different styles of LED strip light connectors.

Now that you understand the different wire requirements of LED tape light connectors, the next step is to determine which type of connection you need for your project.

Tape to Wire Connectors
For installations where you need to jump over an obstacle, such as a kitchen sink or range hood, you would use a Tape-to-Wire, or Strip-to-Wire connector. The Tape-to-Wire connector allows you to cut your LED tape and reconnect by adding custom lengths of low voltage wire in between the cut sections of tape. The Tape-to-Wire connectors can also be used in pre-wired installations, giving you the ability to connect your tape to existing low voltage wire, without the hassle of soldering. We also offer Tape-to-Wire connectors with built-in wire leads, ranging from two inches to eight inches in length; perfect for extending LED strips around corners. This type of Tape-to-Wire connector can also be cut in half to create two separate power leads, or to splice in additional wire to jump obstacles.
Tape to Tape Connectors
Tape-to-Tape, or Strip-to-Strip, connectors allow you to simply reconnect two cut pieces of tape light without the need of any wire in between.
Wire to Wire Connectors
To connect runs of wire to extend the length of a 2 pin, 4 pin, 5 pin, or 6 pin LED strip light installation use Wire-to-Wire connectors.
How to Cut LED Strips
You’ve figured out which style connector you need based on your LED tape light wiring requirements and the method in which you will be using the connector. Now comes the important task of learning how to cut your tape correctly.

There are only two points on tape lighting where the strip can be properly cut: the copper pads and the metal solder joints. Cutting anywhere else on the strip risks the possibility of damaging the circuit in the tape. When using connectors, cut the LED tape with scissors directly in the center of the copper pad. Tape light connectors will only work on the copper pads of the strip lighting, and not on the soldered joints.
Observing LED Strip Light Polarity
Once you understand how to correctly cut tape light, the final step is to check that you are keeping the polarity consistent when reconnecting the LED strips back together.

Take note of the (+/-) indicators printed on the LED tape light to ensure you maintain the same polarity throughout the installation for white, single color, and RGB LEDs. For RGB+W (5P) and RGB+WW (6P) installations, indicators should be consistent from strip to strip, ensuring the polarity matches throughout each section of the tape.
For further information and guidance on how to cut LED tape and maintain the polarity, please watch our Armacost Lighting LED Tape Lighting videos on topics covering Troubleshooting Polarity Issues and Using Wire to Tape LED Strip Light Connectors. Visit our LED Lighting Videos page for more information on all our LED products.


